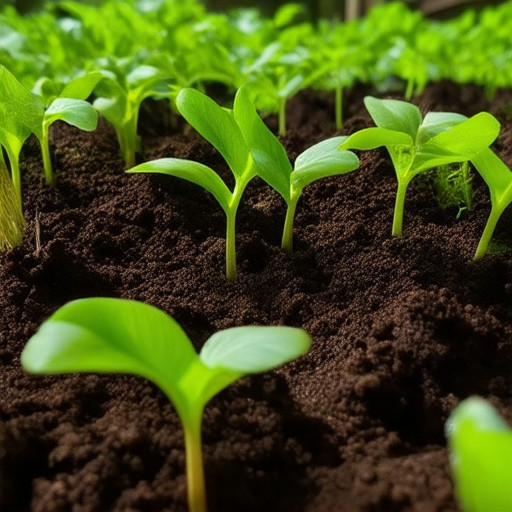
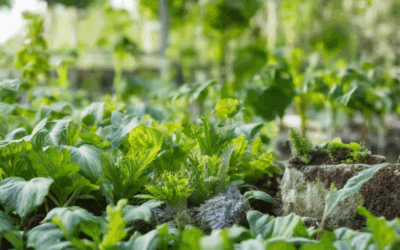
Welcome to the world of organic seed starting! For many home gardeners, the thrill of growing your own plants from seed is unmatched. But figuring out the best approach can feel overwhelming. Whether you’re a seasoned gardener or just beginning, organic seed starting provides a natural and sustainable method to kickstart your gardening adventure. From choosing the right mix to mastering germination techniques, this guide will walk you through everything you need to know to successfully grow strong, healthy seedlings.
Key Takeaways
– Improved Germination Rates: Seed starting mix enhances sprouting success with tailored nutrients.
– Better Drainage: Lightweight, well-draining mixes prevent waterlogging and root rot.
– Moisture Control: Absorbs excess water while retaining enough moisture for hydration.
– Pest Resistance: Formulations often include deterrents to reduce early infestation risks.
– Nutrient Availability: Provides a balanced blend of nutrients for healthy seedling development.
– Proper Watering: Tailor watering frequency and technique to soil type, sunlight, and growth stages.
– Effective Methods: Choose between transplant or direct sow methods based on your goals and experience level.
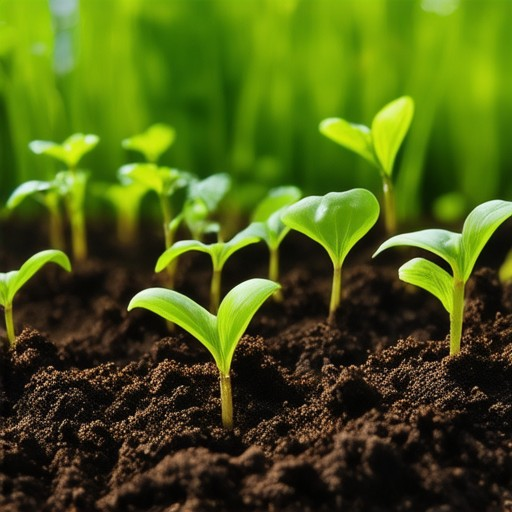
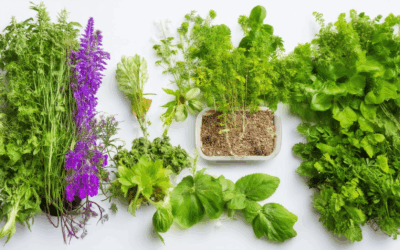
How to Start Seeds Organically
To successfully start seeds organically, follow these essential steps:
- Test Seed Viability: Before sowing, conduct a germination test. Place seeds in damp paper towels or a seed starter mat in a warm location. Check for sprouting within 4-6 weeks. This ensures viable seeds.
- Choose the Right Varieties: Select heirloom or non-GMO seeds for organic growing. These varieties often have better flavor and are adapted to local conditions.
- Sow Seeds Properly: Plant seeds at the correct depth (usually ½ inch for most vegetables) and space them according to the plant’s needs. Use rows or containers suited for the crop.
- Water Gently: Water with a fine spray or drip system. Avoid overwatering to prevent mold or rot. Mulch around seeds to retain moisture and suppress weeds.
- Monitor Daily: Check seeds regularly for germination signs. Provide consistent lighting (some seeds need light to germinate, while others thrive in darkness).
- Cover Seeds: Use a lightweight cover to maintain moisture and protect seeds from pests and temperature fluctuations.
- Transplant Timely: Once seeds sprout, transplant into larger containers or outdoor beds when they have at least two true leaves. Choose the right time for your climate.
- Use Organic Fertilizer: Apply compost or organic fertilizer at planting time to promote healthy growth without synthetic chemicals.
- Store Unused Seeds: After testing, store unused seeds in labeled envelopes for future use. Keep them dry and in a cool place to preserve viability.
- Track Varieties: Note down which seeds worked best for future reference, helping you refine your organic gardening efforts each year.
- Protect from Pests: Use organic pest control methods, such as companion planting or introducing beneficial insects, to safeguard your seedlings.
By following these steps, you can successfully grow your own organic seeds and contribute to sustainable gardening practices. For more tips and resources, visit our gardening tips section .
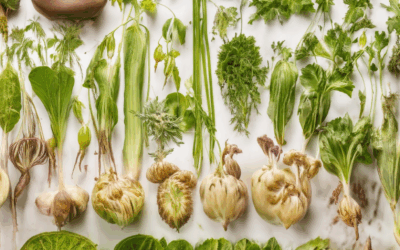
Germinating Seeds: Comparing Soil vs. Paper Towel Methods
When deciding whether to germinate seeds in soil or a paper towel, several factors come into play, including success rate, ease of use, cost, space requirements, and suitability for different plant species.
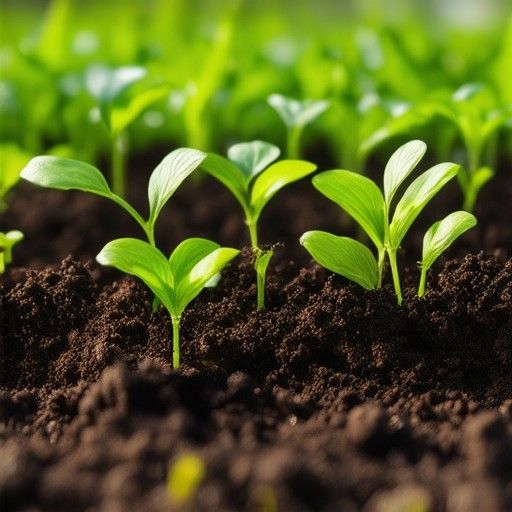
Germinating in Soil
- Advantages:
- Natural environment for seed growth.
- Provides proper drainage and suitable pH levels for most seeds.
- Supports strong root development.
- Considerations:
- Requires attention to soil preparation and watering frequency.
- Needs monitoring for signs of germination.
- May be more space-consuming.
Paper Towel Method
- Advantages:
- Simplified setup and easier monitoring.
- Reduces risk of damping off due to controlled moisture.
- Space-saving solution.
- Considerations:
- May not work for all seed varieties.
- Potential for limited airflow and mold growth risks.
- Environmental impact due to paper waste.
Which Method to Choose?
The choice between germinating seeds in soil or using a paper towel method depends on individual preferences and specific needs. For novice gardeners or those growing a variety of seeds, the paper towel method offers simplicity and effectiveness. Experienced gardeners may prefer the soil method for better root development and overall plant health.
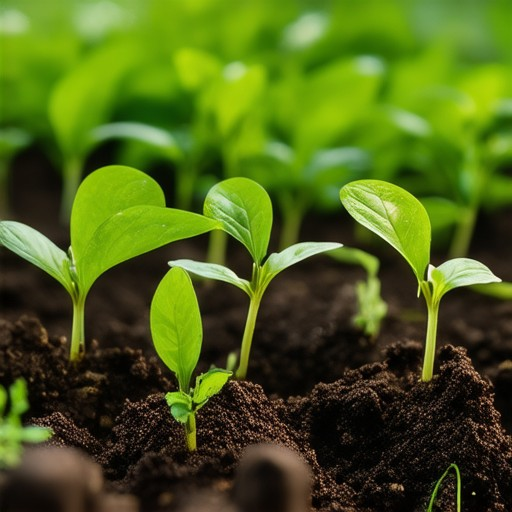
How to Make Your Own Organic Seed Starting Mix
To create an effective organic seed starting mix, follow these steps for optimal germination and growth:
- Choose the Right Components: – Base Materials: Combine equal parts peat moss, perlite, and vermiculite. These provide excellent drainage, aeration, and nutrients. – Nutrient Boost: Add a small amount of compost to enrich the mix with essential minerals and microorganisms. – Optional Enhancements: Include coarse sand for improved drainage or gypsum to enhance nutrient availability. Coco coir can be a sustainable alternative to peat moss.
- Adjust Ratios Based on Needs: – For most seeds, a 1:1:1 ratio of peat moss, perlite, and vermiculite works well. Adjust the compost quantity depending on the specific seeds’ requirements, such as those needing extra nutrients.
- Consider Storage and Preparation: – Store the mix in a clean, dry container with a lid until ready to use. – Ensure all materials are sterilized to prevent contamination.
- Apply the Mix Effectively: – Mix thoroughly to ensure even distribution of all components. – Apply the mixture evenly in containers, pressing gently to remove air pockets.
- Monitor and Maintain: – Keep the mix moist but not waterlogged. Regularly check for proper drainage and aeration. – Adjust the pH level with lime or sulfur if needed, ensuring it suits the specific seeds being grown.
By carefully selecting and blending these components, you’ll create a supportive environment for successful seed germination and healthy plant growth.
Is Seed Starting Mix Worth It?
When deciding whether to use seed starting mix, it’s essential to evaluate its benefits compared to traditional potting mixes. Seed starting mix is specifically designed to support the early growth of seeds, offering advantages that regular potting mix may lack.
- Improved Germination Rates: Seed starting mix often contains nutrients tailored for germinating seeds, which can enhance sprouting success compared to ordinary mixes.
- Better Drainage: Many seed starting mixes are lightweight and well-draining, preventing waterlogging and root rot—a common issue with heavier, poorly structured potting mixes.
- Moisture Control: These mixes can absorb excess water while retaining enough moisture to keep seeds hydrated during germination.
- Pest Resistance: Some formulations include ingredients that deter pests, reducing the risk of infestation during the critical early stages of seed growth.
- Nutrient Availability: Seed starting mixes typically offer a balanced blend of nutrients that are easily accessible for young plants, ensuring healthy development from the start.
While regular potting mix can work in a pinch, seed starting mix is generally more effective for successful seed propagation. Its tailored formulation supports germination, reduces complications, and sets a strong foundation for plant growth. Consider using seed starting mix if you’re serious about achieving high germination rates and healthy seedlings.
For more insights, check out our gardening tips and learn how to choose the best seed starting mix for your needs.
Watering Starter Seeds: Tips for Optimal Growth
Watering your starter seeds properly is crucial for healthy growth. Here’s a guide to help you determine the best approach:
- Frequency of Watering: Seedlings typically need watering every day, but this can vary. Factors like soil type, sunlight exposure, and temperature play a significant role. If the soil dries out quickly, especially in sunny spots, you may need to water more frequently.
- Soil Moisture Check: Always check the soil before watering. Insert your finger about an inch deep; if it feels dry, water thoroughly. Overwatering can lead to root rot, so aim for consistent moisture without leaving the soil soggy.
- Environmental Adjustments: Use a watering globe or drip irrigation system to maintain even moisture levels. Sunny locations may require more frequent watering due to higher evaporation rates.
- Growth Stages: As your seedlings grow taller, they’ll require more water. Ensure the container has adequate drainage to prevent root damage and choose larger pots if needed for better moisture retention.
- Mulching: Apply mulch around your seedlings to retain soil moisture and regulate soil temperature, reducing the need for frequent watering.
- Rainfall Consideration: After rainfall, monitor the soil to avoid waterlogging. Light watering may not be necessary if the soil is still moist from rain.
By tailoring your watering routine to these factors, you can provide optimal care for your seedlings, ensuring they thrive and establish a strong root system.
What is the Best Seed Starter Method?
Starting seeds successfully requires careful consideration of your goals, resources, and growing conditions. Here’s a breakdown of the most effective methods:
- Transplant Method: Ideal for experienced gardeners, this involves germinating seeds in smaller containers before planting them outdoors. Each seed gets its own space, reducing root overcrowding and transplant stress. This method works well for heirloom or rare varieties that benefit from early nurturing.
- Direct Sow Method: Suitable for quick results, this involves sowing seeds directly into prepared soil. It’s cost-effective and efficient for fast-growing crops like vegetables or annual flowers. However, it requires consistent monitoring and care to ensure germination rates remain high.
For the best results, choose the method that aligns with your specific needs. Whether you’re starting seeds indoors or directly outside, consistency in watering, lighting, and temperature is key to successful germination. Explore sustainable gardening techniques at Old Seed for tips on preserving heirloom varieties and enhancing your growing environment.
Conclusion: Both methods have their advantages, and the choice depends on your experience level, available space, and the type of seeds you’re growing. Experiment to find what works best for your garden!

0 Comments